✨ New Arrivals Just Dropped!Explore

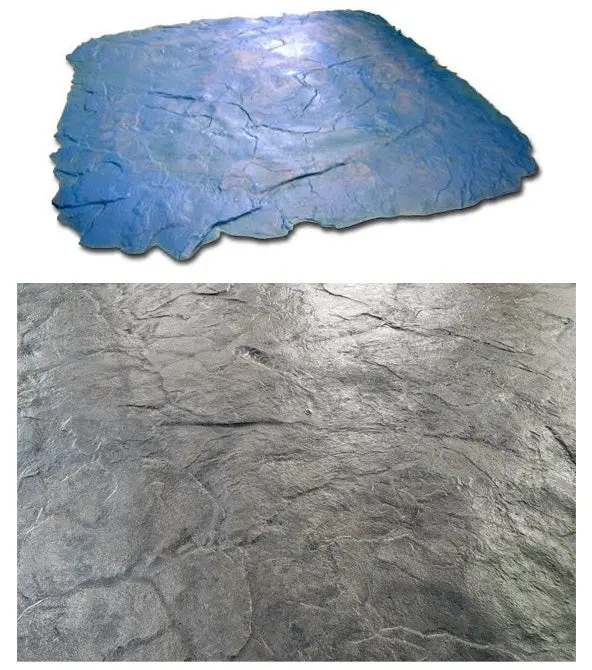
Concrete Seamless Stamp Mat - Fractured Thin Slate
Concrete Seamless Stamp Mat - Fractured Thin Slate
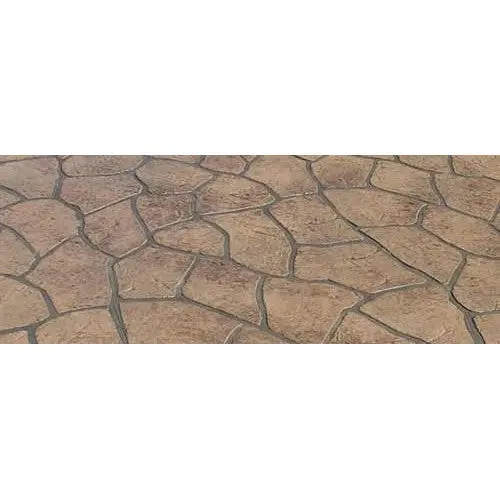
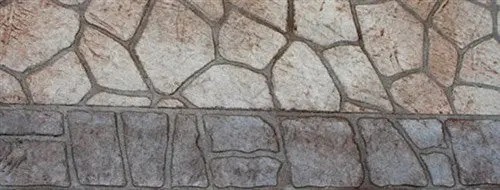
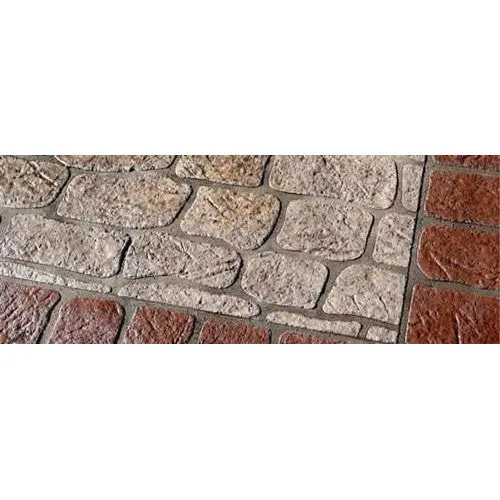
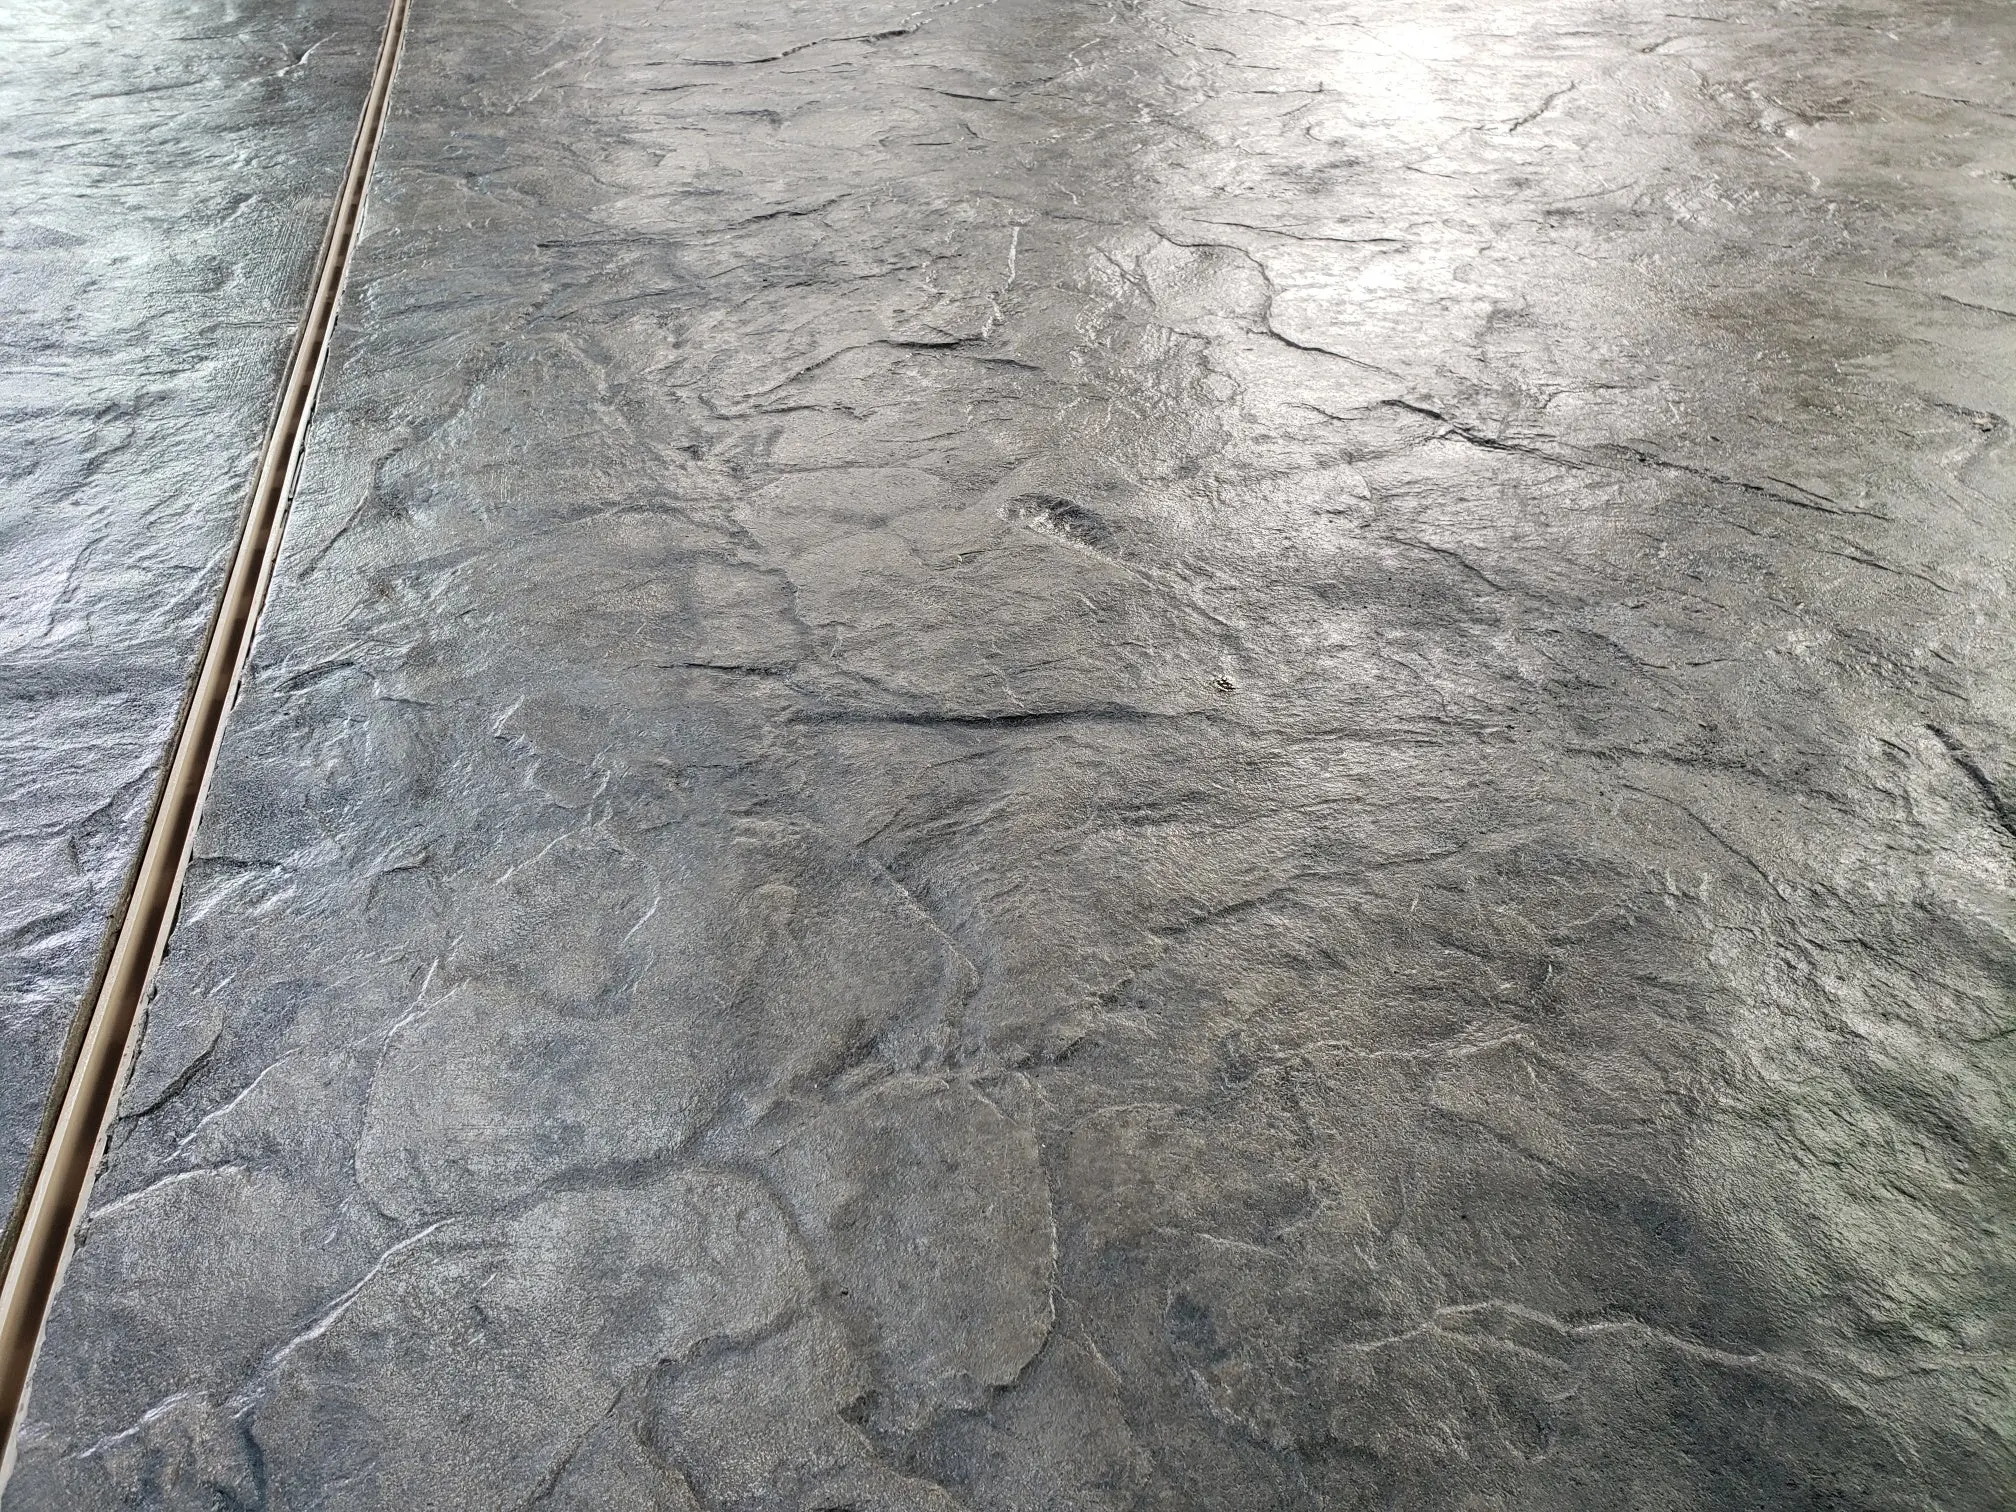
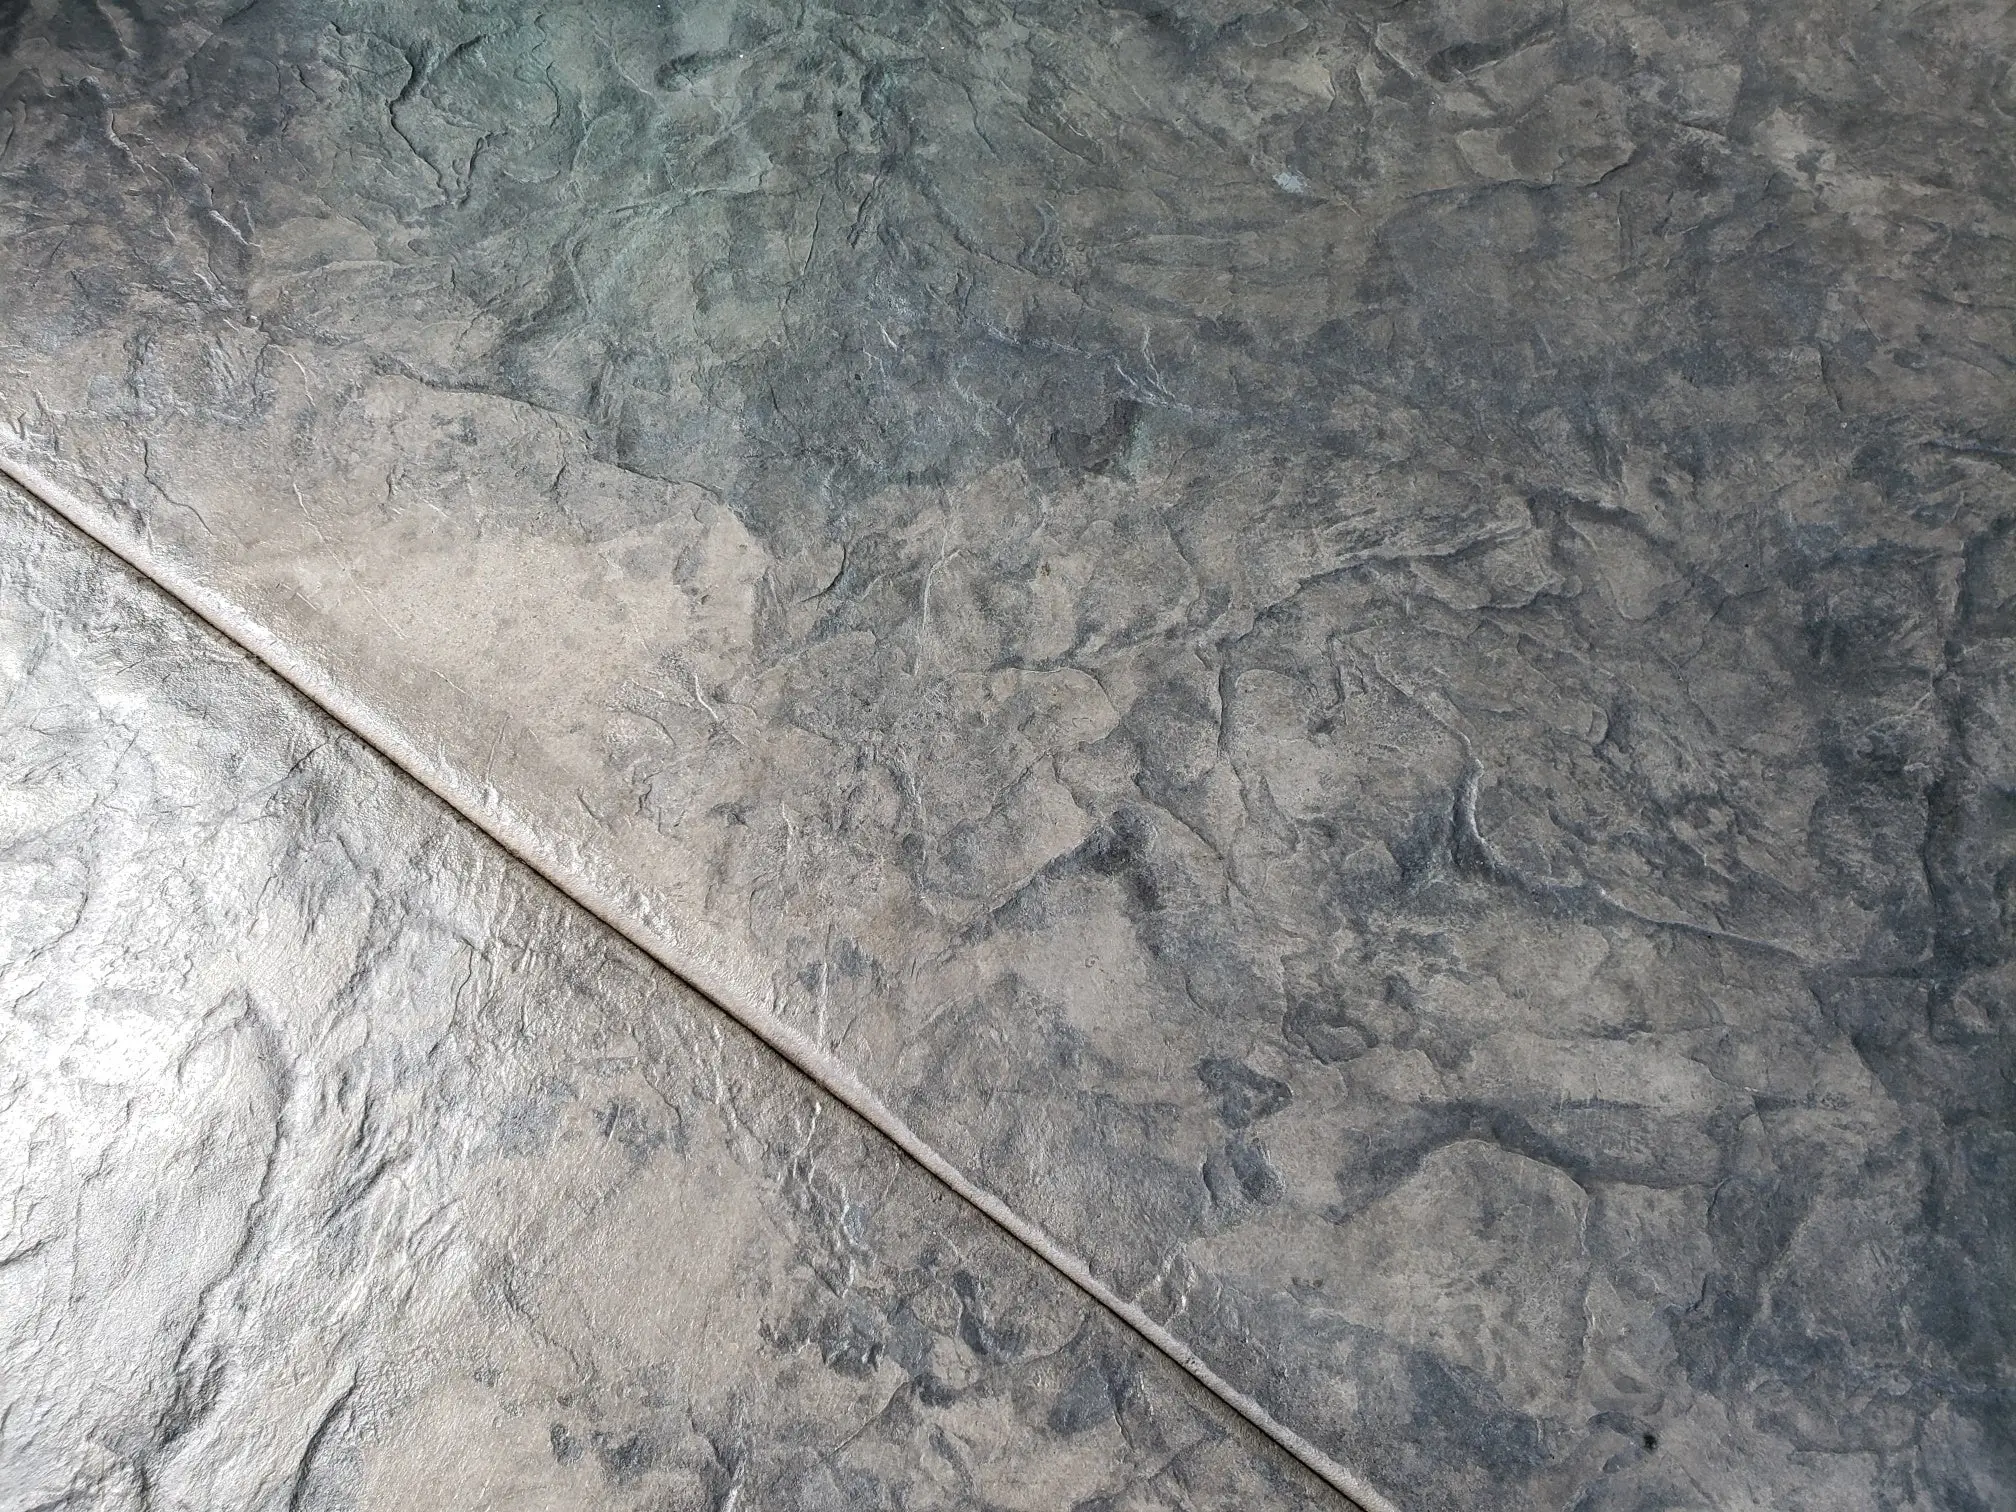
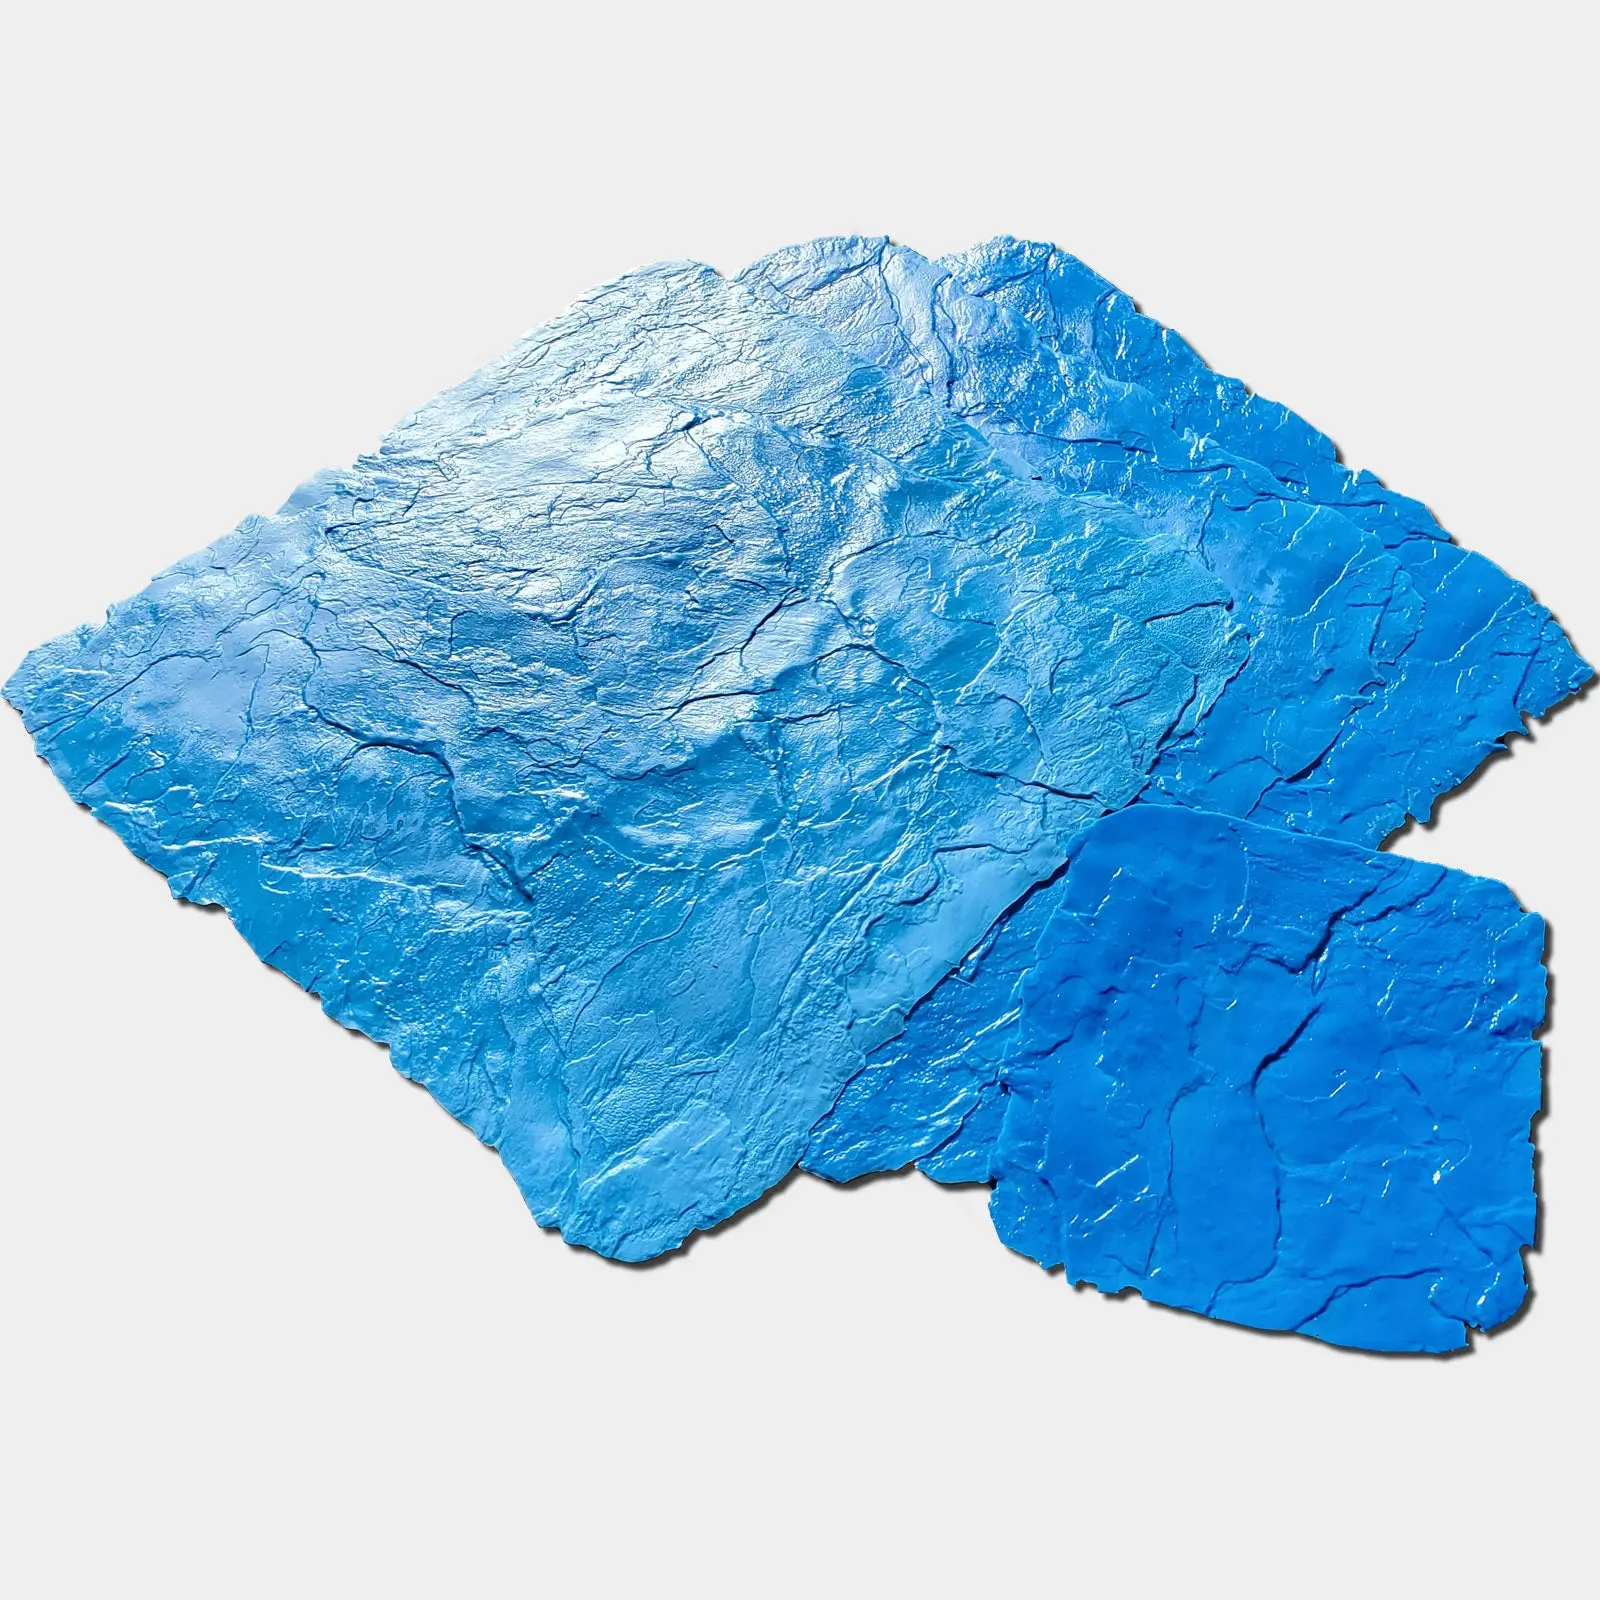
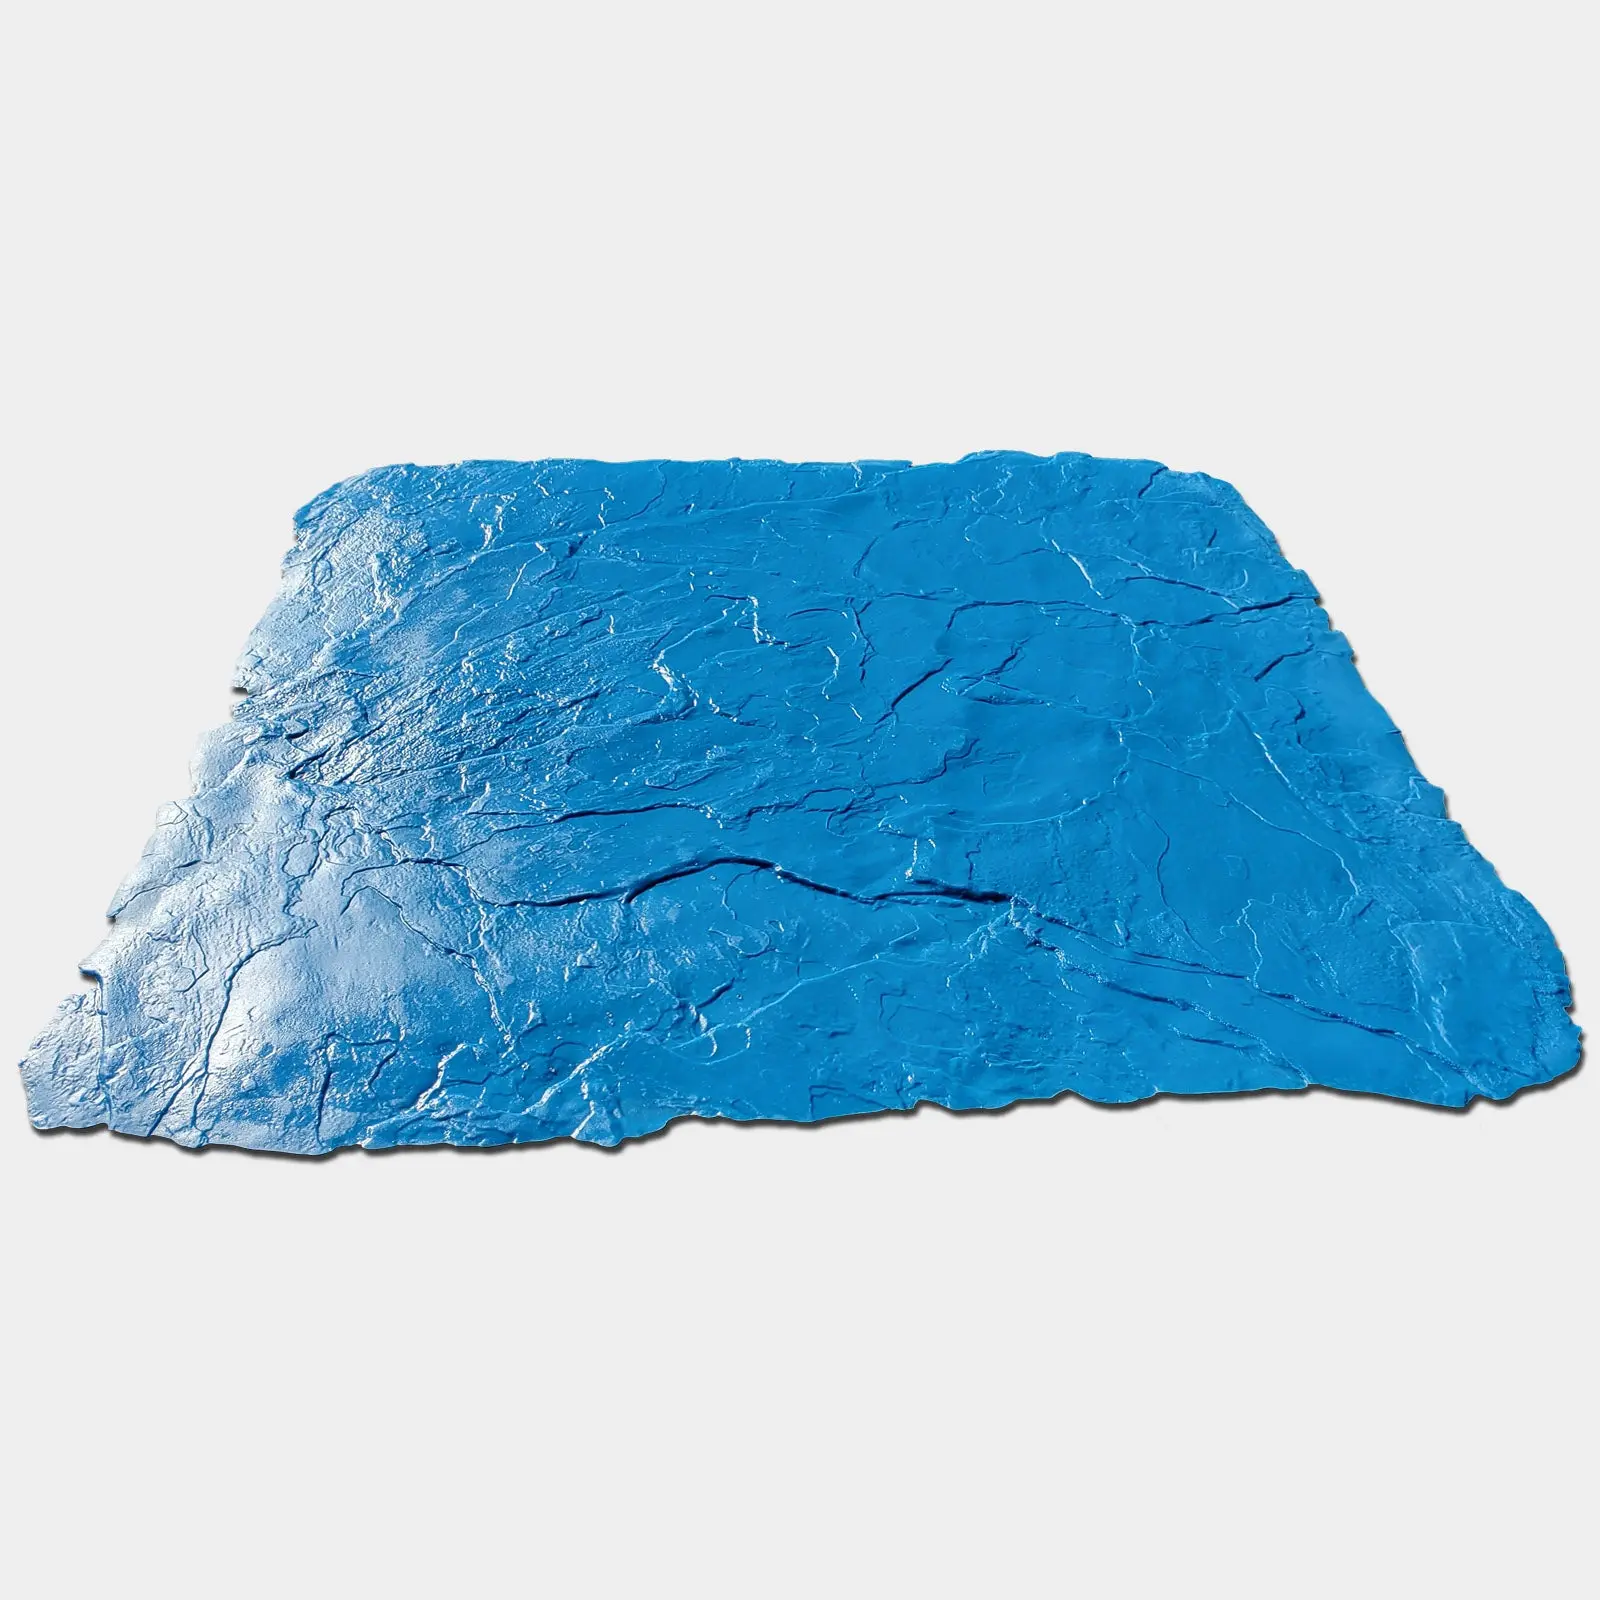
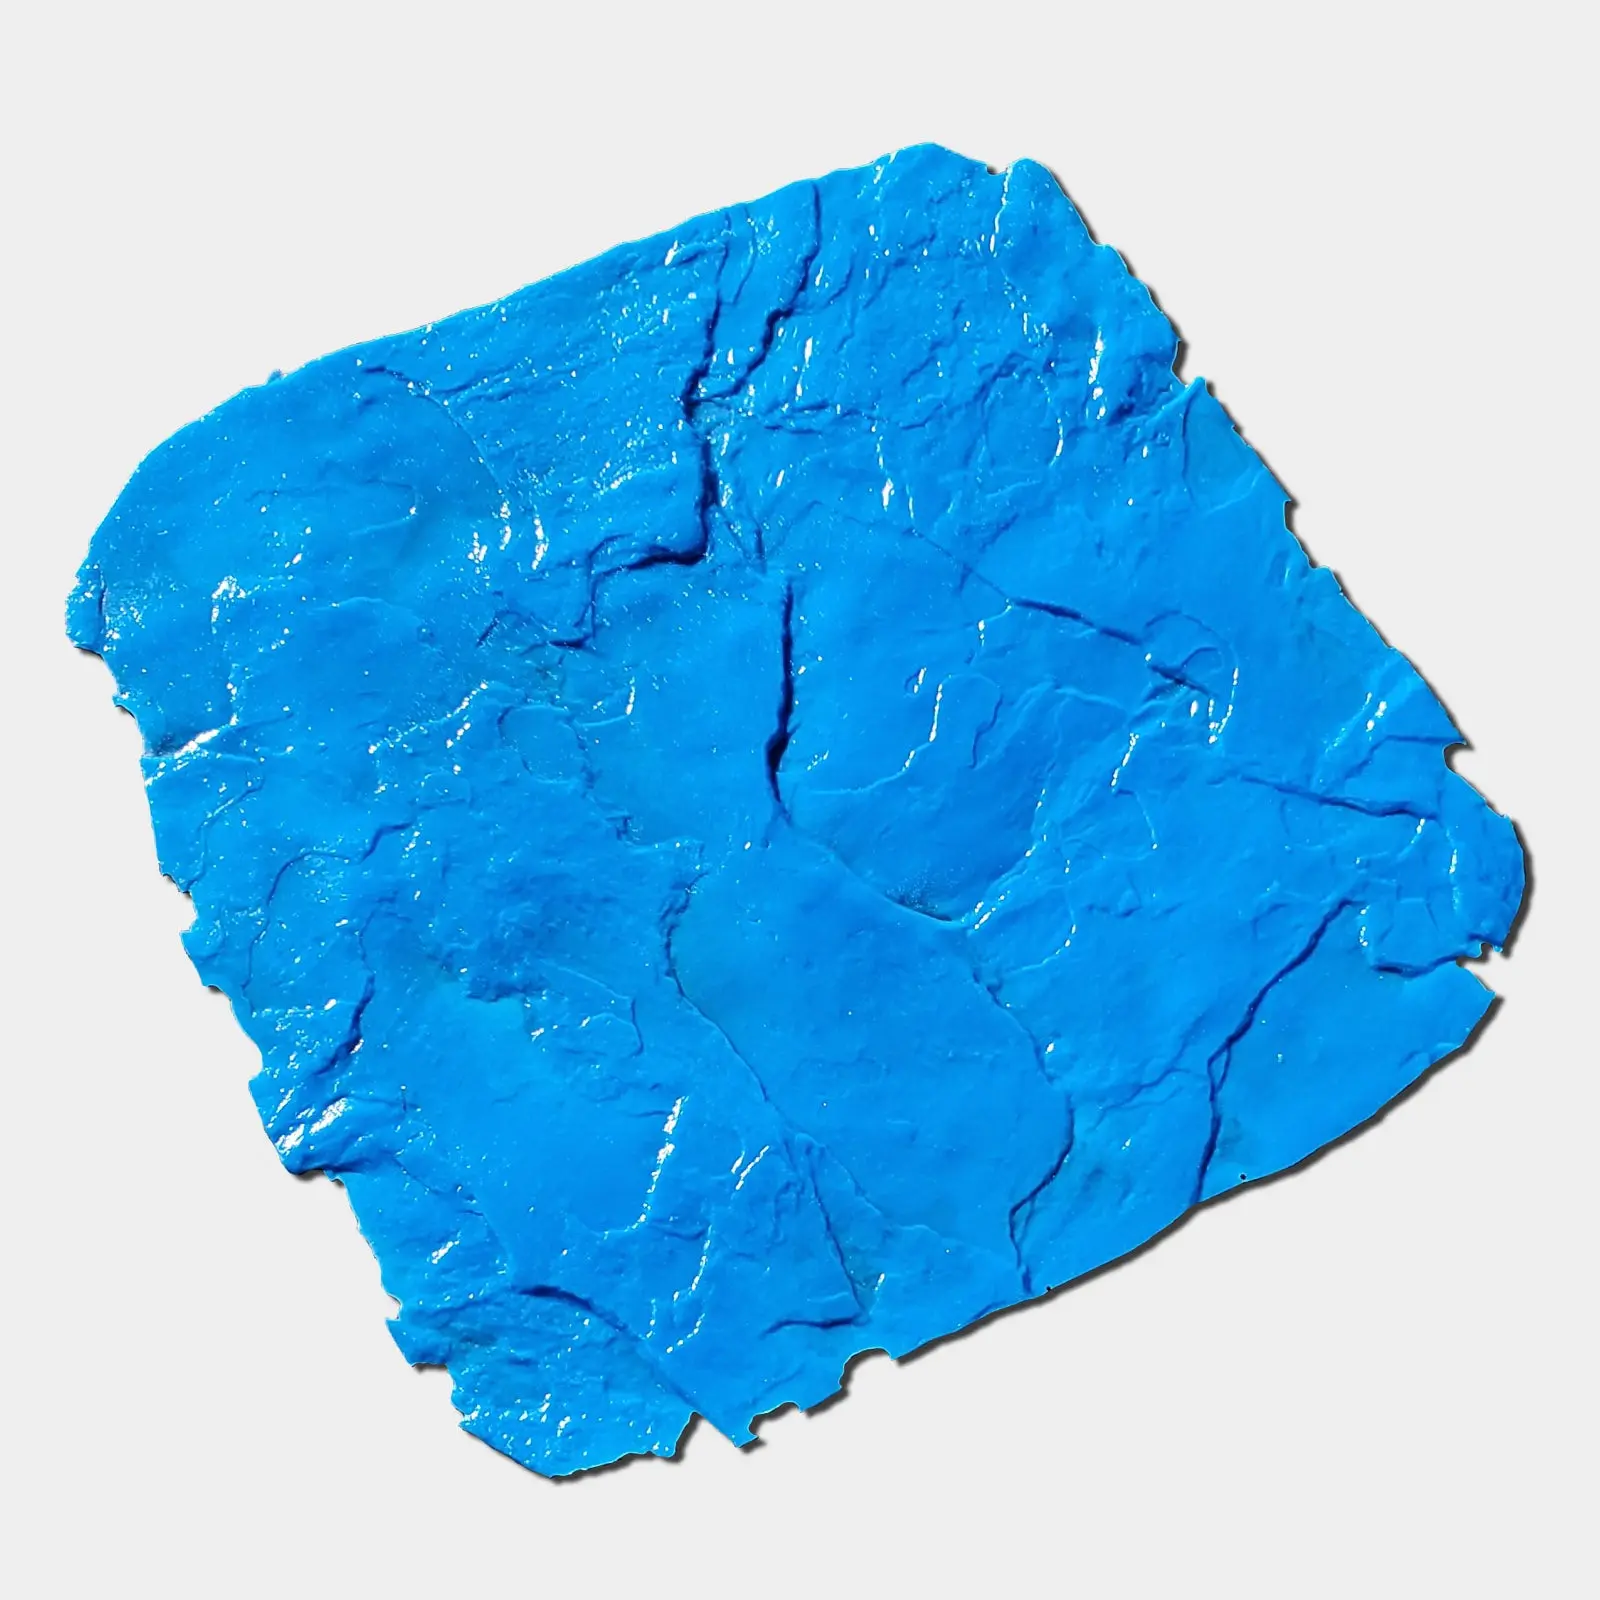
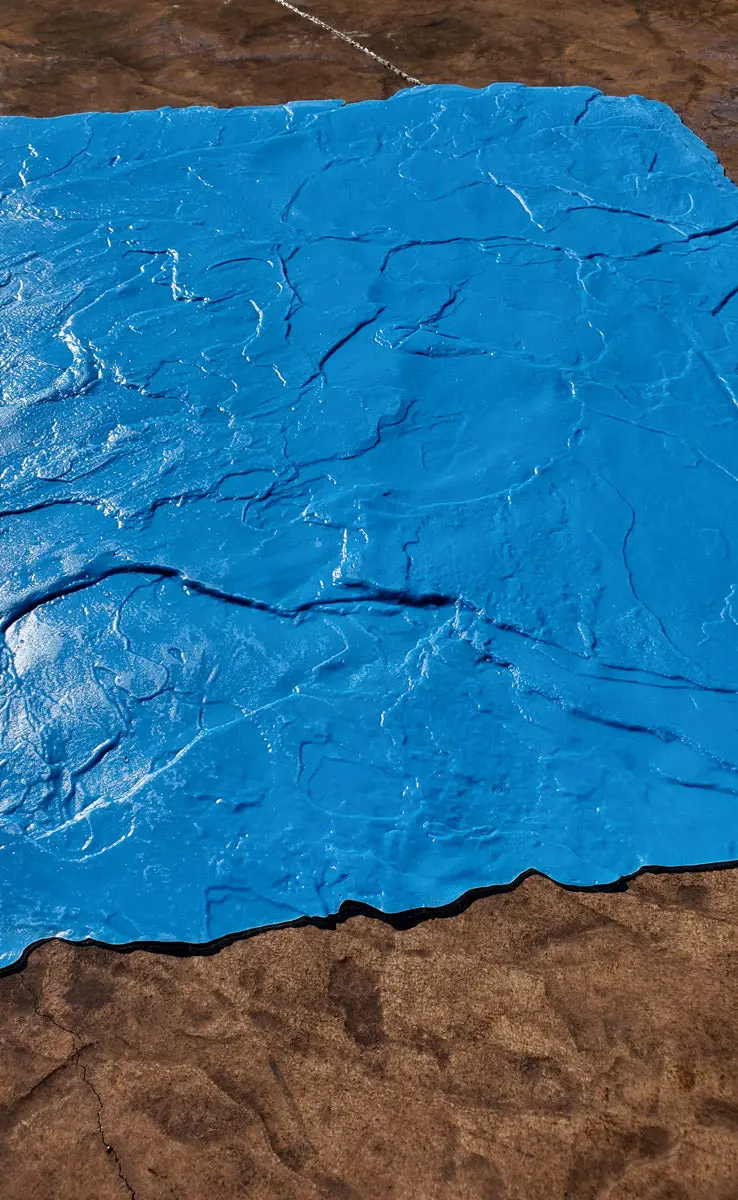
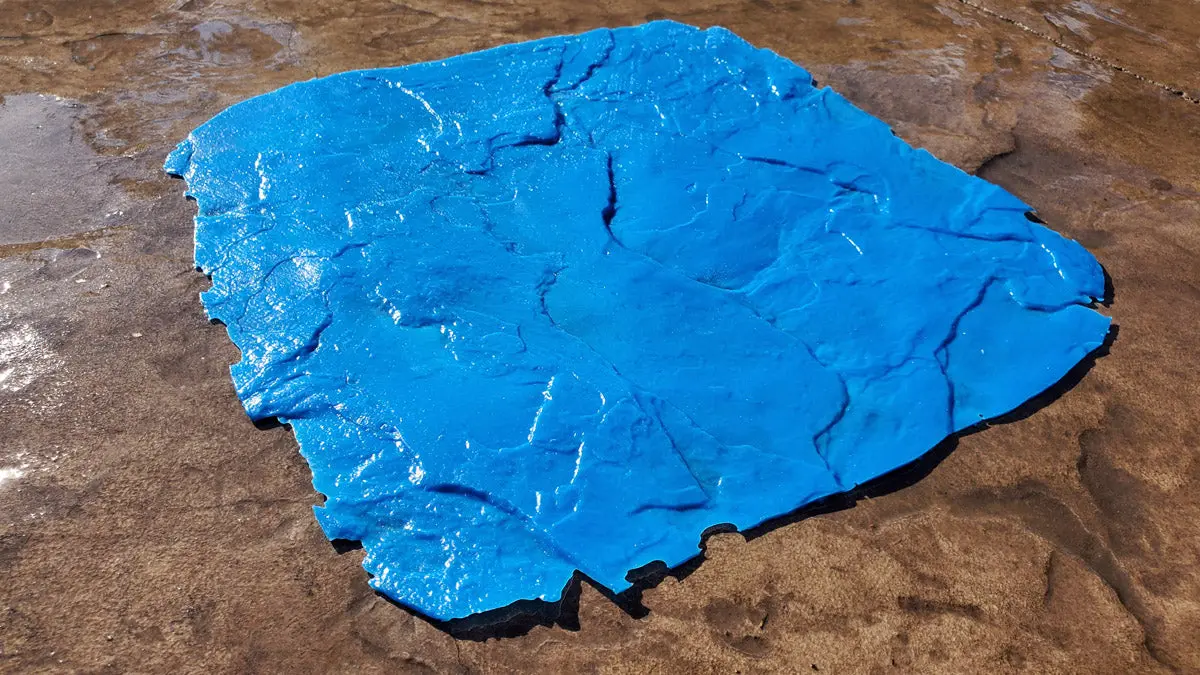
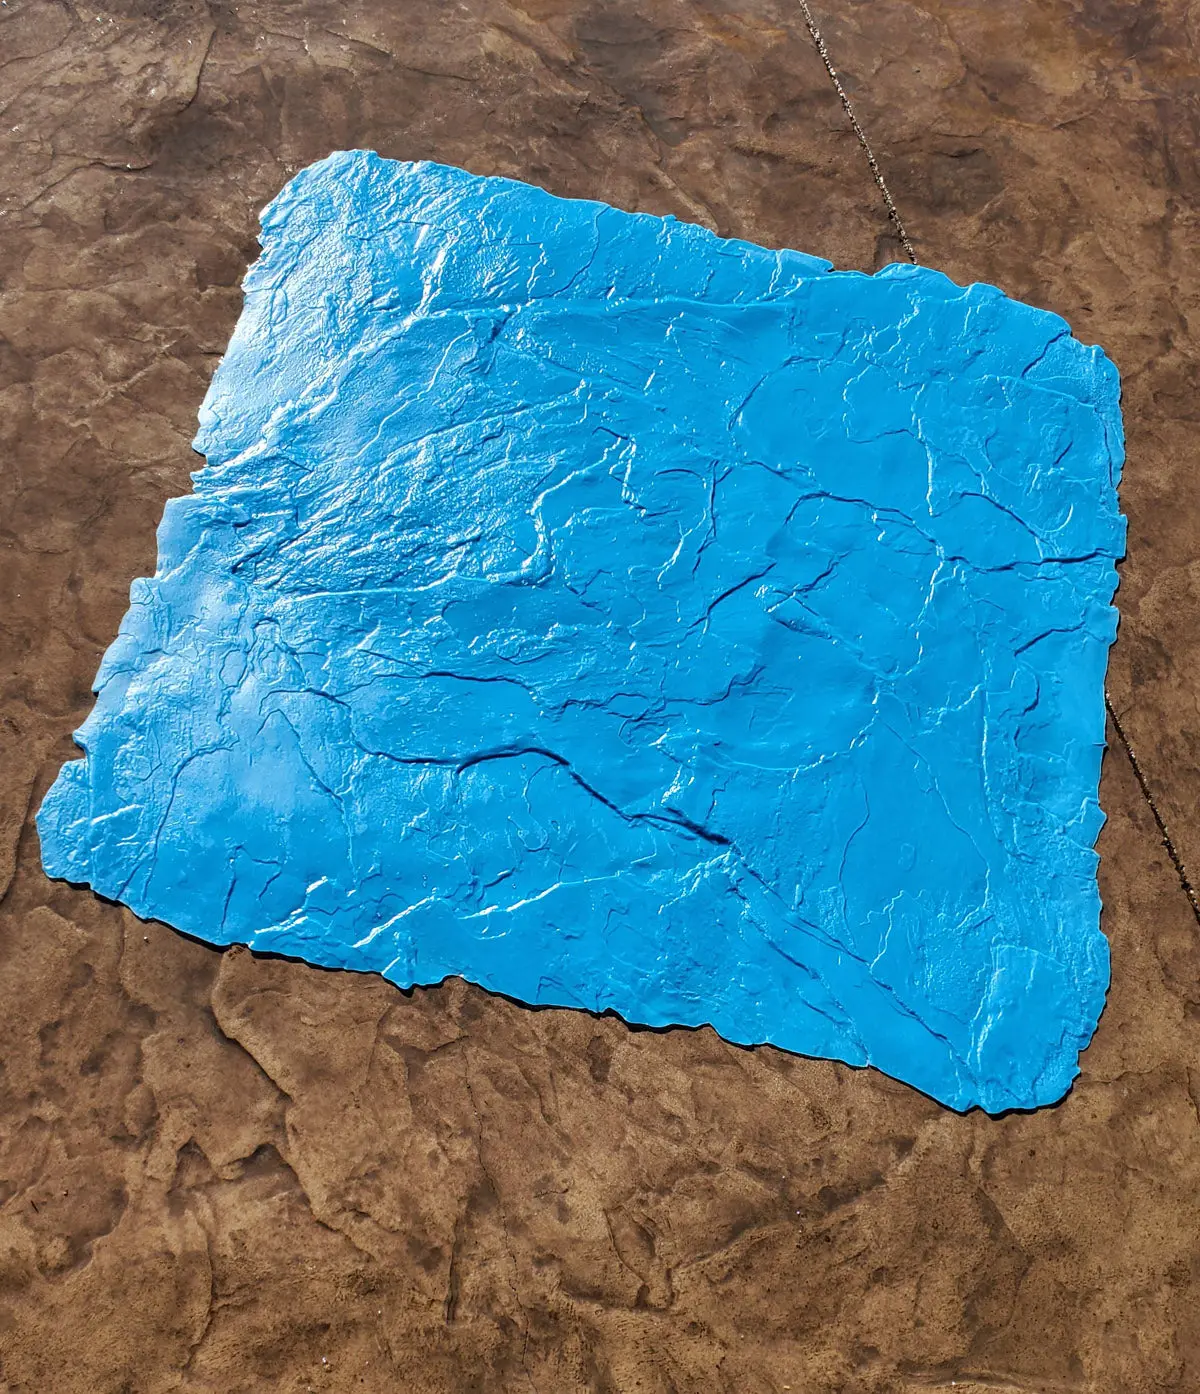
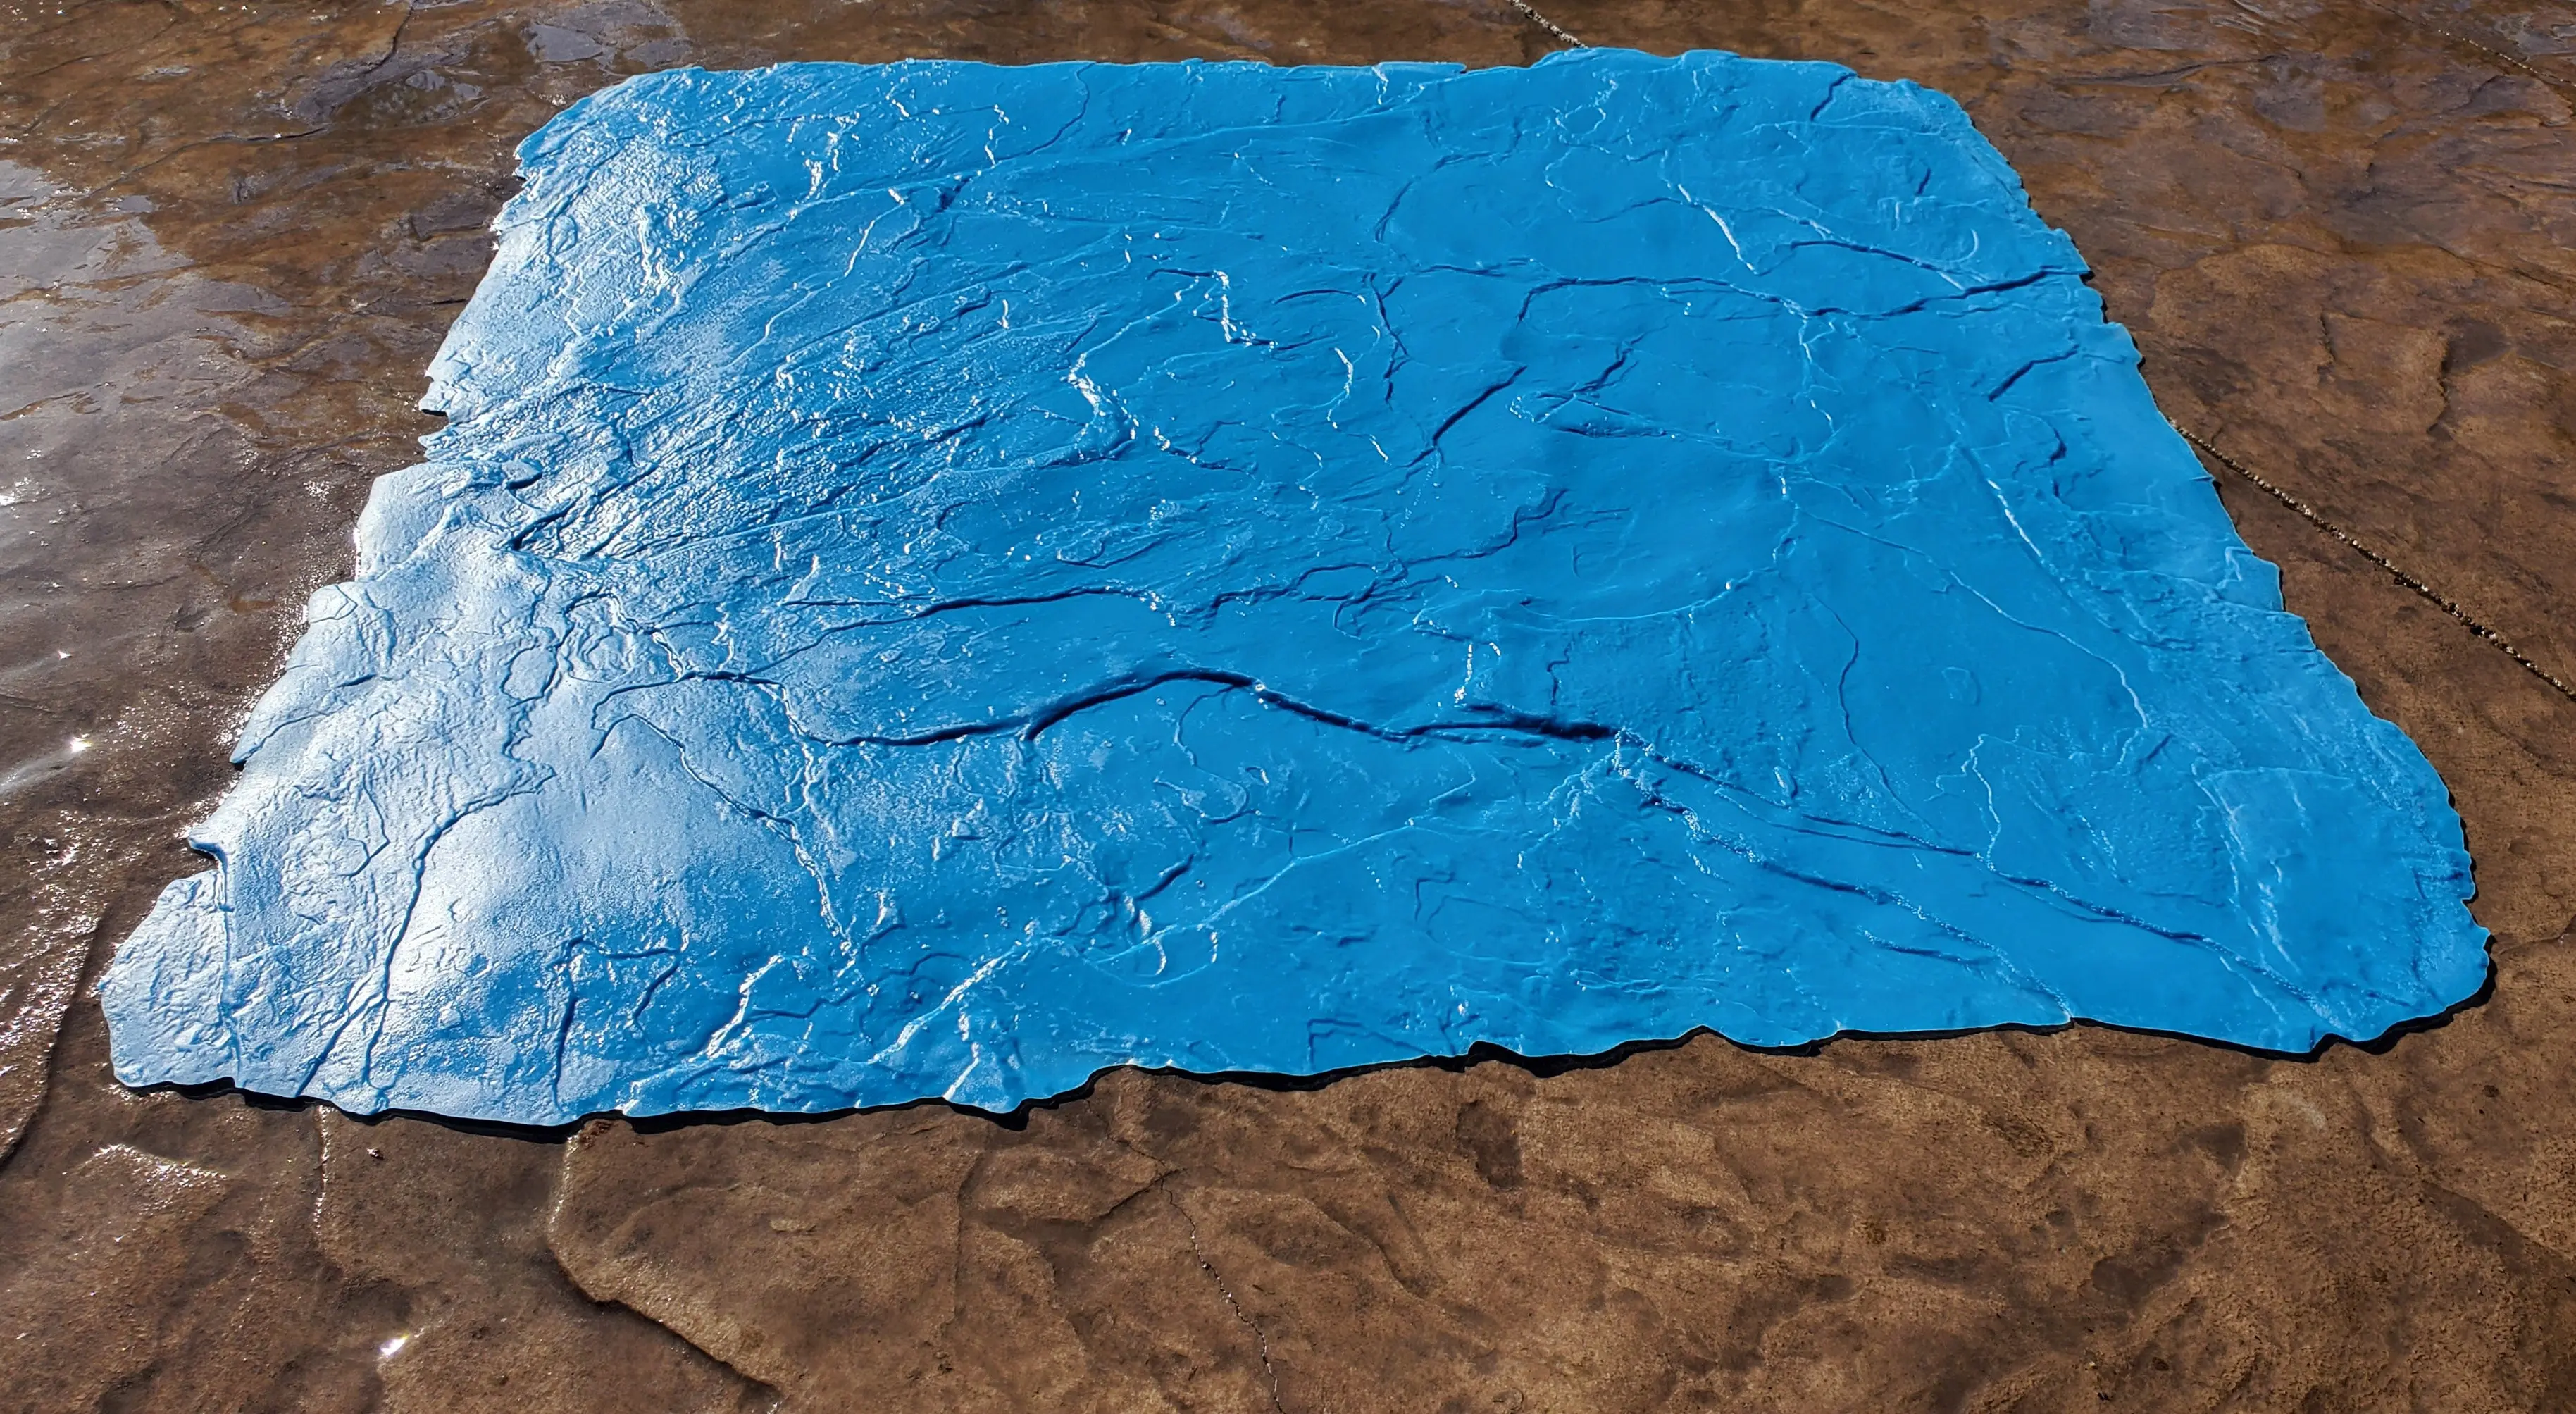
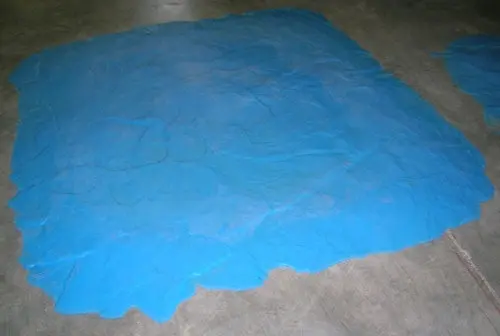
- Concrete Stamp Pattern: Seamless Fractured Rock Roman Slate.
- This stamp pattern comes in sizes of approximately 36" x 36", and touch-up skins 18" x 18".
- No straps or handles on the backs of these stamps- On thin 'seamless style concrete stamps' having a strap or handle in the back is generally not a good idea as it will be a lump that when stepped on/tamped down into the concrete, it will create a deeper depression, so when done there will be low spots all over the concrete. Watch the video above to see how easy these stamps are to use without the need for straps to pick them up.
- Made of polyurethane composites- Very durable, good for hundreds of uses.
- Stamping concrete with seamless stamps eliminates the difficult and time consuming process of making sure each stamp is lined up perfectly before pressing in the concrete. It is a very simple and quick process to turn concrete into beautiful stone.
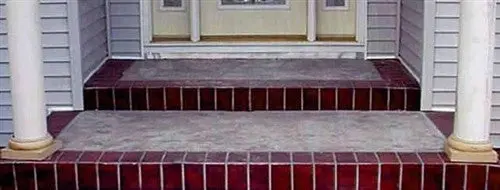
- Use stamps with Integral Concrete Color (sold here) and colored Release Agents (sold here) to create beautiful two dimensional concrete, or Acid Stain (sold here) the concrete after stamping.
- Once cured, seal the concrete to preserve the concrete and the color. SuperSeal 2000 (sold here) is the most common sealer used to seal decorative concrete surfaces, both indoor and outdoor.
- Clean stamps after each use with water and a stiff brush. Pressure washing can make cleaning quicker.
- Keep stamps stored flat, and out of direct sunlight to prolong their life.
How to stamp concrete?
- After applying a powder or liquid release agent to concrete, lay stamp on concrete surface and press into the concrete. Walking on the stamp, or (depending on concrete hardness) an Tamper Tool may be needed to help push the stamp into the concrete.
- When picking up the stamp, grab the edges on both sides and pick straight up. Make sure to not drag the stamp across the concrete surface.
- Turn the stamp at different angles each time you place it down so the pattern is unique. Use multiple stamps to be able to walk out onto the concrete- standing on one while you pick up and re-position the other.
- Try not to press the edges of the stamp into the concrete. If you do, it will leave a mark that will look like the edge of a stamp, instead of looking like the stone texture... Stay away from the outer few inches of the stamps when walking or tamping them down into the concrete, and when placing the next stamp (if you are using multiple stamp mats), overlap the stamps about 6", and pick up the edge of the stamp you are standing on so the new stamp mat goes underneath it, and then move over onto the new stamp mat and continue the stamping process.
- Once the concrete is set (usually the following day), any release powder can be washed off with a hose. More release can be removed as needed, either by using a broom to help remove it, or pressure washer. Once you remove enough release agent coloring from the concrete to satisfy the look you are after, let the concrete finish curing (usually a few weeks) before you seal the concrete. If you need to protect the concrete during this time, use Cure and Seal Sealer (sold here).
Select Stamp Size
From $49.09
Concrete Seamless Stamp Mat - Fractured Thin Slate—
$49.09
More Images
Concrete Seamless Stamp Mat - Fractured Thin Slate
Concrete Seamless Stamp Mat - Fractured Thin Slate
- Concrete Stamp Pattern: Seamless Fractured Rock Roman Slate.
- This stamp pattern comes in sizes of approximately 36" x 36", and touch-up skins 18" x 18".
- No straps or handles on the backs of these stamps- On thin 'seamless style concrete stamps' having a strap or handle in the back is generally not a good idea as it will be a lump that when stepped on/tamped down into the concrete, it will create a deeper depression, so when done there will be low spots all over the concrete. Watch the video above to see how easy these stamps are to use without the need for straps to pick them up.
- Made of polyurethane composites- Very durable, good for hundreds of uses.
- Stamping concrete with seamless stamps eliminates the difficult and time consuming process of making sure each stamp is lined up perfectly before pressing in the concrete. It is a very simple and quick process to turn concrete into beautiful stone.
- Use stamps with Integral Concrete Color (sold here) and colored Release Agents (sold here) to create beautiful two dimensional concrete, or Acid Stain (sold here) the concrete after stamping.
- Once cured, seal the concrete to preserve the concrete and the color. SuperSeal 2000 (sold here) is the most common sealer used to seal decorative concrete surfaces, both indoor and outdoor.
- Clean stamps after each use with water and a stiff brush. Pressure washing can make cleaning quicker.
- Keep stamps stored flat, and out of direct sunlight to prolong their life.
How to stamp concrete?
- After applying a powder or liquid release agent to concrete, lay stamp on concrete surface and press into the concrete. Walking on the stamp, or (depending on concrete hardness) an Tamper Tool may be needed to help push the stamp into the concrete.
- When picking up the stamp, grab the edges on both sides and pick straight up. Make sure to not drag the stamp across the concrete surface.
- Turn the stamp at different angles each time you place it down so the pattern is unique. Use multiple stamps to be able to walk out onto the concrete- standing on one while you pick up and re-position the other.
- Try not to press the edges of the stamp into the concrete. If you do, it will leave a mark that will look like the edge of a stamp, instead of looking like the stone texture... Stay away from the outer few inches of the stamps when walking or tamping them down into the concrete, and when placing the next stamp (if you are using multiple stamp mats), overlap the stamps about 6", and pick up the edge of the stamp you are standing on so the new stamp mat goes underneath it, and then move over onto the new stamp mat and continue the stamping process.
- Once the concrete is set (usually the following day), any release powder can be washed off with a hose. More release can be removed as needed, either by using a broom to help remove it, or pressure washer. Once you remove enough release agent coloring from the concrete to satisfy the look you are after, let the concrete finish curing (usually a few weeks) before you seal the concrete. If you need to protect the concrete during this time, use Cure and Seal Sealer (sold here).
Product Information
Product Information
Shipping & Returns
Shipping & Returns
Description
Concrete Seamless Stamp Mat - Fractured Thin Slate
- Concrete Stamp Pattern: Seamless Fractured Rock Roman Slate.
- This stamp pattern comes in sizes of approximately 36" x 36", and touch-up skins 18" x 18".
- No straps or handles on the backs of these stamps- On thin 'seamless style concrete stamps' having a strap or handle in the back is generally not a good idea as it will be a lump that when stepped on/tamped down into the concrete, it will create a deeper depression, so when done there will be low spots all over the concrete. Watch the video above to see how easy these stamps are to use without the need for straps to pick them up.
- Made of polyurethane composites- Very durable, good for hundreds of uses.
- Stamping concrete with seamless stamps eliminates the difficult and time consuming process of making sure each stamp is lined up perfectly before pressing in the concrete. It is a very simple and quick process to turn concrete into beautiful stone.
- Use stamps with Integral Concrete Color (sold here) and colored Release Agents (sold here) to create beautiful two dimensional concrete, or Acid Stain (sold here) the concrete after stamping.
- Once cured, seal the concrete to preserve the concrete and the color. SuperSeal 2000 (sold here) is the most common sealer used to seal decorative concrete surfaces, both indoor and outdoor.
- Clean stamps after each use with water and a stiff brush. Pressure washing can make cleaning quicker.
- Keep stamps stored flat, and out of direct sunlight to prolong their life.
How to stamp concrete?
- After applying a powder or liquid release agent to concrete, lay stamp on concrete surface and press into the concrete. Walking on the stamp, or (depending on concrete hardness) an Tamper Tool may be needed to help push the stamp into the concrete.
- When picking up the stamp, grab the edges on both sides and pick straight up. Make sure to not drag the stamp across the concrete surface.
- Turn the stamp at different angles each time you place it down so the pattern is unique. Use multiple stamps to be able to walk out onto the concrete- standing on one while you pick up and re-position the other.
- Try not to press the edges of the stamp into the concrete. If you do, it will leave a mark that will look like the edge of a stamp, instead of looking like the stone texture... Stay away from the outer few inches of the stamps when walking or tamping them down into the concrete, and when placing the next stamp (if you are using multiple stamp mats), overlap the stamps about 6", and pick up the edge of the stamp you are standing on so the new stamp mat goes underneath it, and then move over onto the new stamp mat and continue the stamping process.
- Once the concrete is set (usually the following day), any release powder can be washed off with a hose. More release can be removed as needed, either by using a broom to help remove it, or pressure washer. Once you remove enough release agent coloring from the concrete to satisfy the look you are after, let the concrete finish curing (usually a few weeks) before you seal the concrete. If you need to protect the concrete during this time, use Cure and Seal Sealer (sold here).